These past couple of weeks have been weeks of breaking changes, especially for the Web3 Frontend landscape. We now have a new underdog called Viem which is challenging the dominance of EthersJs. Ethers has released version 6 which comes with breaking changes. Viem has been adopted by Wagmi – a favourite Web3 Frontend library. This means Wagmi.sh also has introduced breaking changes in its new version. To top it off, WalletConnect has sunset v1 in favour of the much-awaited v2. To top it off, NextJS 13.4 has now been termed as a stable-ish version of NextJS 13 by its creators.
This article is the first part in a two-part series where we will look at the following and try to make a mini-project to understand how things work now:
Next JS 13 (Note: whenever you see NextJS 13 or Next or NextJs, assume its NextJS 13.4)
We will use Tailwind CSS for it and the code can be found at this Repo:
Fair Warning: I will not be explaining NextJS 13 in-depth. Read the Docs or watch Traversy Media or Code With Antonio's tutorials on YouTube for an in-depth explanation of Next 13 my fellow Lyadhkhor devs.
In this article, I will:
Briefly touch NextJS 13 and how it works.
Setup Wagmi and WalletConnect in a NextJs 13 App.
Using WalletConnect v2
The next article in this series will show how one can use Viem and Wagmi.sh to read and write data from a smart contract deployed on Polygon Mumbai Testnet (honestly, who uses Sepolia Testnet nowadays?).
The code for this series will be available at this Github Repo:
[ github.com/abhik-99/NextJS-Blog ]
NextJS 13 – what gives?
NextJS has always been a favourite for the range of benefits it has historically provided over React. An unopinionated client-side rendering library like React has had its pitfalls – like poor SEO. With the current Next version, Vercel just made things simpler.
Now by default, all components are server components and to have a component render client side you need to use the “use client” tag at the top of the component file. What’s the difference?
Server components are first rendered on the server when someone requests and then sent to the client side (browsers and such). Client Components do not get rendered on the server and instead get rendered on the client itself.
Server Components will return the full DOM essentially when requested, Client components won’t. So, it’s better for SEO.
You won’t be able to use React Hooks and Context on the server. So, say goodbye to
useEffectanduseStatewhen using Server Components.Conversely, you can actually query a DB in a server component and have the results rendered without the general risks of doing the same in a client React component.
These, among other things, outline the advantages of using NextJS. Watch/Read those resources for a complete difference and working of a NextJS app.
The exciting thing is that while you cannot use client-side interaction hooks in a server component, you can encapsulate the parts requiring client interaction inside a client component and then use that component inside a server component. In simpler terms, a component decorated with “use client” can be included in a server component.
Moreover, in a client component, you can execute server-side code in the form of actions (async functions). These actions are composable meaning they can be kept inside together in any other part of the app and then called and executed in a client component. You need to annotate these actions by the “use server” tag inside the function (in its first line). At the time of writing, you will have to enable this feature manually as its experimental.
Another conundrum is the naming convention. One might think that everything inside app directory is routable. This is not true. NextJS considers only those directories which have a page.tsx file inside them as routable. To differentiate, here we will prefix _ to every directory which is not meant to be routable. These things more or less cover what we need to know.
In this section, we will setup a clean NextJS 13 app and discuss the changes introduced along with how to work around certain things. Firstly run npx create-next-app@latest. This will give you the options for your app starting with the app name. We will:
Use Typescript with NextJS 13 app.
Use ESLint.
Use Tailwind CSS in our Next app.
We will not be using the
srcdirectoryWe will definitely use the App Router with NextJS 13
Change the import alias to
@
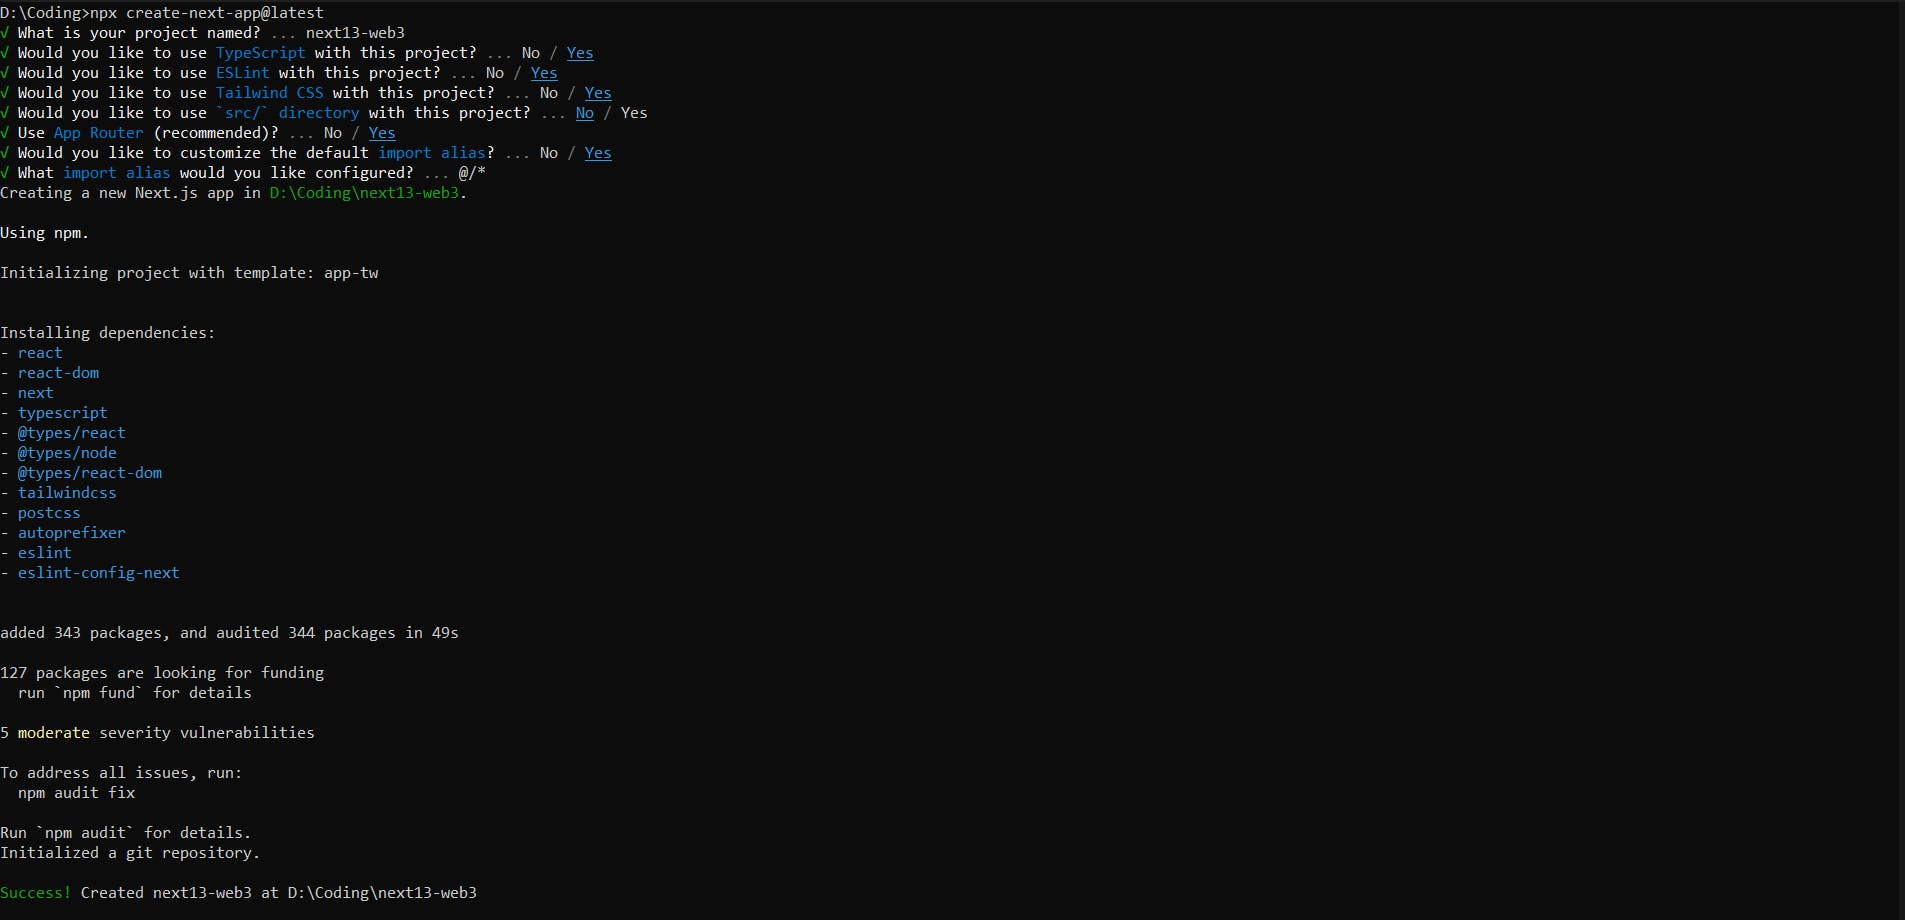
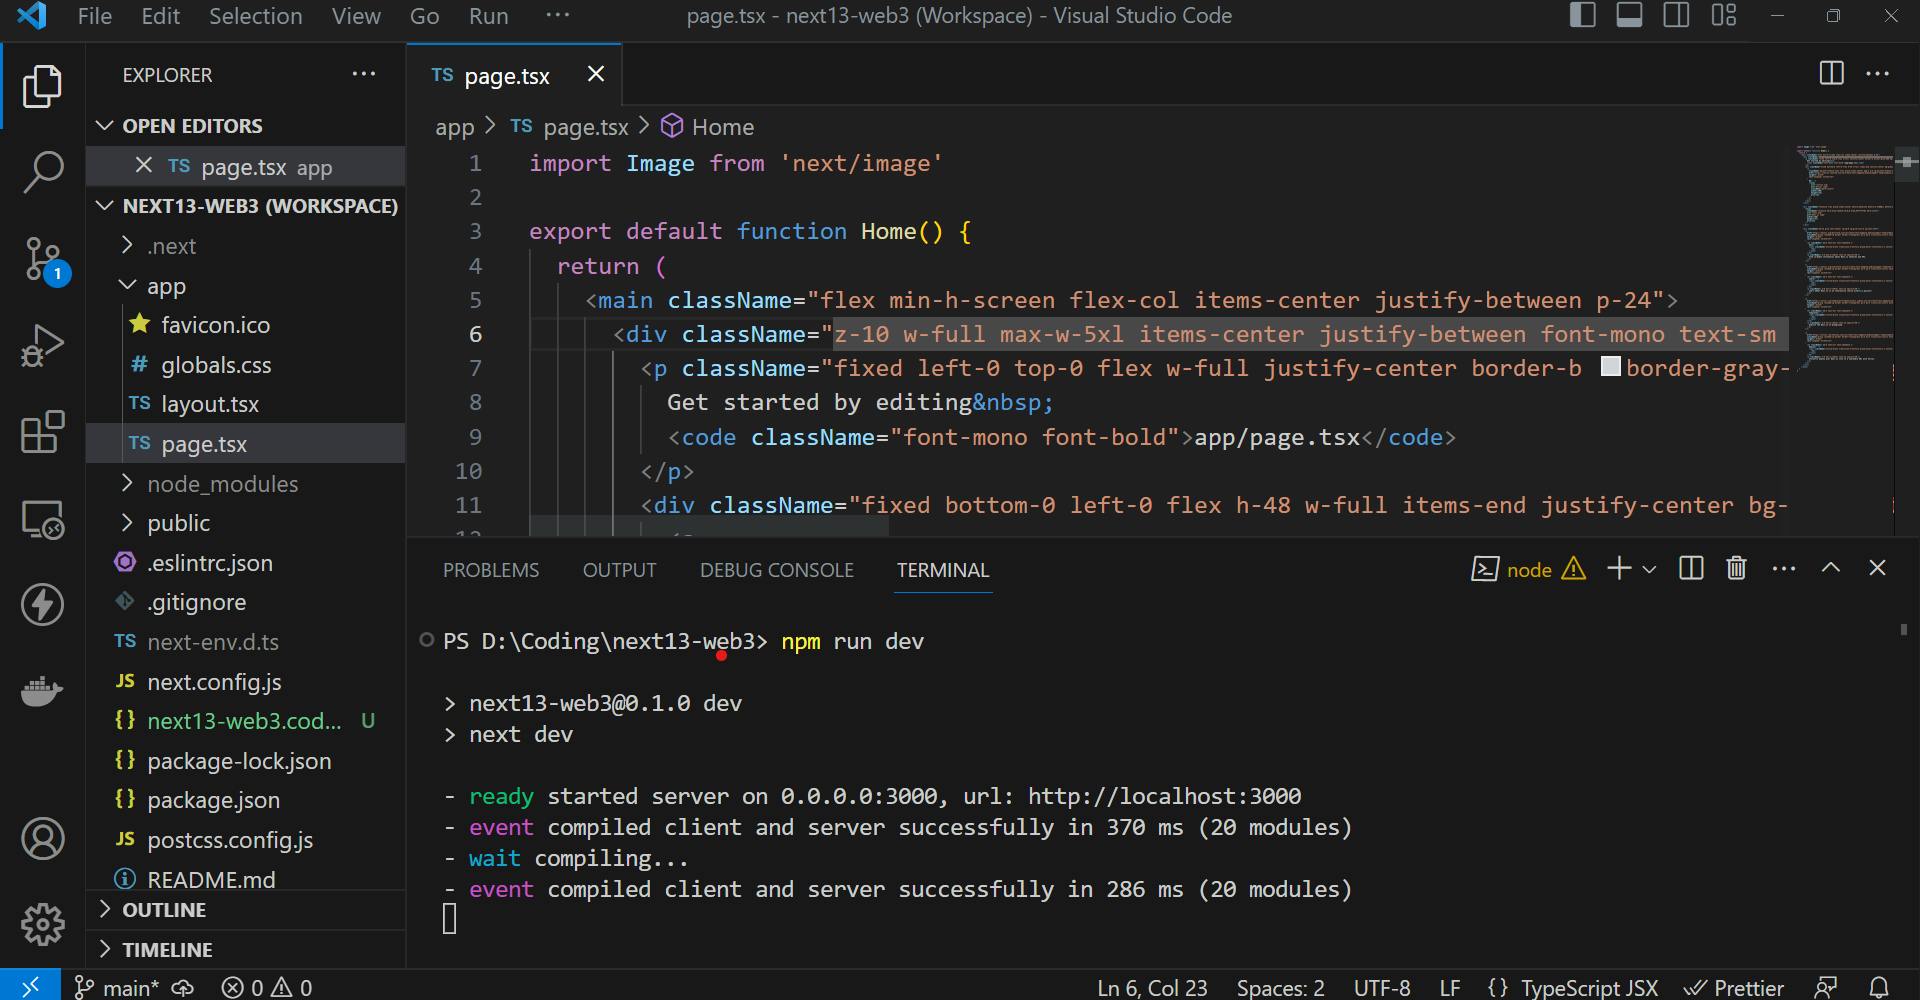
This will create a directory for you with a directory structure as shown below. The app directory does not have an api directory. We won’t need it. NextJS also brings a lot of change on the API Routes side of things but that can be discussed some other time. You can run npm run dev to start the dev server. This will start the Next App on Port 3000 as shown below. This completes the NextJS part of things.
WalletConnect
WalletConnect is a utility that allows us to connect to multiple wallets quite easily (duh, that’s the name). It provides a layer of abstraction over the injectors and wallet connectors. One can easily customize the options like the button for connecting and the modal which opens. WalletConnectv2 has been a long time coming (though not as long as Bootstrap 5). In this article, we will be using WalletConnectv2.
WalletConnect builds nicely on top of Wagmi. This allows you to have access to Wagmi.sh hooks and provide functionality through a common context. Now talking of hooks and context should tell you that this is something we need on the client side.
But first things first, we need a Project ID to work with WalletConnect. You need to:
Go to the WalletConnect Cloud, create an account & login.
Create a “New Project” with whatever name you want. Here we go with “next13-web3”.
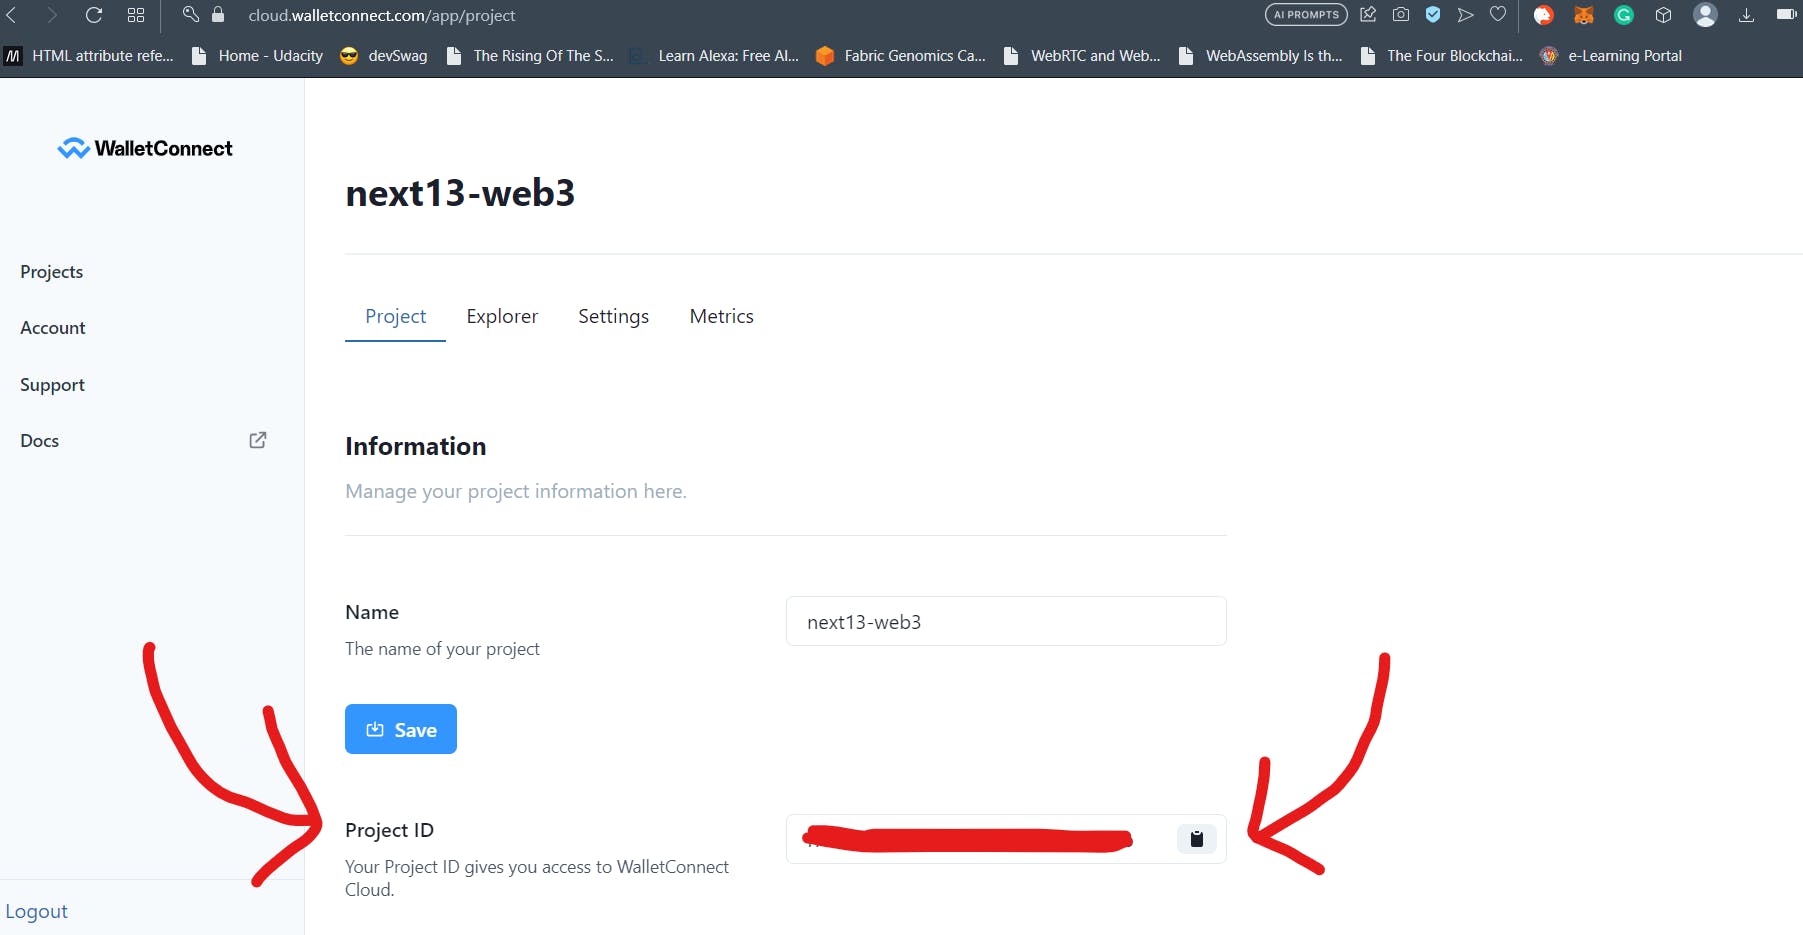
Copy the Project ID. It will be shown in the section as shown in the image below.
Once you have the project ID, you need to create an environment file in the root of your project to say this. NextJS just like React has a special convention for the environment variables:
All Environment variables declared in a
.envfile in NextJS are server-side. They will not be exposed to Client-Side Components.If you want an environment variable to be available on the client side, you need to prefix
NEXT_PUBLIC_to the name of the environment variable (similar toREACT_APP_in React).
But even after this, we need to go the extra mile because we are using Typescript in NextJS. When using Typescript in NextJS, you will encounter a special problem referencing environment variable using process.env as these variables can be string | undefined by default and not many arguments allow that type.
WalletConnect client takes in project ID which is of type string so having string | undefined is problematic. You can either typecast it using as string after the environment variable in the code. A Better way would be to create a additional-env.d.ts file the root of your project. Add this file to include:[] array in your tsconfig.json file. Inside the additional-env.d.ts file add the following code:
declare global {
  namespace NodeJS {
    interface ProcessEnv {
      NODE_ENV: "development" | "production";
      NEXT_PUBLIC_W3C_PID: string;
    }
  }
}

export {};
You can add your environment variable name followed by type inside the ProcessEnv interface in a manner similar to the code above. Then add them to your environment file and Typescript will not complain about your use of env variable in any project (not just in Next). Now open a terminal in VS Code and run npm install @web3modal/ethereum @web3modal/react wagmi viem like shown below.

This completes the Wallet Connect and related dependency installation (Wagmi and Viem included). After this, we need to:
Create a Wallet Connect and Wagmi Config
Provide it throughout the app by wrapping the app with the config.
Place the Web3Modal from
@web3modal/reactsomewhere it won’t create a problem for the rest of the app.Use
Web3Buttonfrom@web3modal/reactto use WalletConnect to connect to Wallets.
Creating Config and Providing it through the App
Now, creating a config part is easy. Using a Provider and making it available throughout the app is the difficult part. The provider needs client components but by default, NextJs components are server components.
A poor solution to the problem will be opening the Root Layout (layout.tsx inside the app directory) and adding use client at line 1. That would make the Layout a server component. This is the root layout so the config will be provided to every component in the app. But our app suffers from poor SEO and that defeats the purpose of NextJs.
So, a better solution will be to create a client component and use that inside the Root Layout server component (refer to the NextJS section of the article). We will call this component WagmiProvider.tsx. In a real-world app, you will have multiple such Providers. So a good practice here would be to bundle them all inside a RootProvider component of sorts and then to wrap the children inside the <body> of the RootLayout. The RootProvider will only need to be declared “use client” and the individual providers do not need to declared with this tag. This solves the Provider problem in NextJS. This is how you can use Context Providers, Theme Provider and Wagmi Provider etc. in NextJS 13.
Create a _providers directory inside the app directory. Inside this, create a file called WagmiProvider.tsx and place in the following code:
import React from "react";

import {
  EthereumClient,
  w3mConnectors,
  w3mProvider,
} from "@web3modal/ethereum";
import { Web3Modal } from "@web3modal/react";
import { configureChains, createConfig, WagmiConfig } from "wagmi";
import { polygonMumbai } from "wagmi/chains";

type WagmiProviderType = {
  children: React.ReactNode;
};

const chains = [polygonMumbai];
const projectId = process.env.NEXT_PUBLIC_W3C_PID;

const { publicClient } = configureChains(chains, [w3mProvider({ projectId })]);
const wagmiConfig = createConfig({
  autoConnect: true,
  connectors: w3mConnectors({ projectId, version: 2, chains }),
  publicClient,
});

const ethereumClient = new EthereumClient(wagmiConfig, chains);
const WagmiProvider = ({ children }: WagmiProviderType) => {
  return (
    <>
      <WagmiConfig config={wagmiConfig}>{children}</WagmiConfig>
      <Web3Modal projectId={projectId} ethereumClient={ethereumClient} />
    </>
  );
};

export default WagmiProvider;
In the code above, at line 12 WagmiProviderType we declare the prop type. We will only need to use the children prop here and that’s what we specify. The chains array at line 16 contains a list of all EVM-compatible chains on which our app would function. These chains are where our smart contracts need to deployed.
We use the Web3Modal provider and pass in our project ID to it along with the chains as argument to the configureChains and then use the public client (a Viem term) to create a Wagmi config at line 20. This will be passed to the WagmiConfig provider. We then create a ethereumClient for Wallet Connect and pass it to the <Web3Modal /> component along with the project ID. Notice how we wrap the <WagmiConfig /> around the children.
After this, create a separate file called Providers.tsx and paste the following code in. Explanations follow.
"use client"
import React from 'react'
import WagmiProvider from './WagmiProvider'

type ProviderType = {
  children: React.ReactNode
}

const Providers = ({children}: ProviderType) => {
  return (
    <WagmiProvider>{children}</WagmiProvider>
  )
}

export default Providers
We make the Providers.tsx as a client component using the ”use client” tag. We create the prop type with the ProviderType which again will be just the children prop. Nothing special there. Inside the component, we wrap the {children} with the WagmiProvider we had just created. This Provider component is where you will import and wrap all your other Providers like say Material UI Provider, Context Provider, Auth Provider and so on in NextJS.
All we need to do is to import this <Providers /> component inside our Root Layout (layout.tsx inside app directory) and wrap the children like the code shown below:
import Providers from './_providers/providers'
import './globals.css'
import { Inter } from 'next/font/google'

const inter = Inter({ subsets: ['latin'] })

export const metadata = {
  title: 'Next13 Web3',
  description: 'A Web3 Example on using NextJs 13',
}

export default function RootLayout({
  children,
}: {
  children: React.ReactNode
}) {
  return (
    <html lang="en">
      <body className={inter.className}><Providers>{children}</Providers></body>
    </html>
  )
}
In the above code for the Root Layout, I have just changed the Metadata title and description. You can do it for every layout in NextJS using the Metadata API. At line 19, I have wrapped the <Providers /> component around the children.
With this, we do not need to declare our Layout as a client component in NextJS and still have the client functionalities we need.
Using Web3Button
Next we move to page.tsx inside the app directory. We don’t really need any code inside the <main /> tags. So in the code section below, I have deleted all that and just added a single button component <Web3Button /> from @web3modal/react. We need to tag the page.tsx file with ”use client” because we need the button onClick interaction. Even the <Web3Button /> component uses context which, again, is a client-side feature.
If you have your dev server running, browse to localhost:3000 and you will encounter something similar to the screen below:
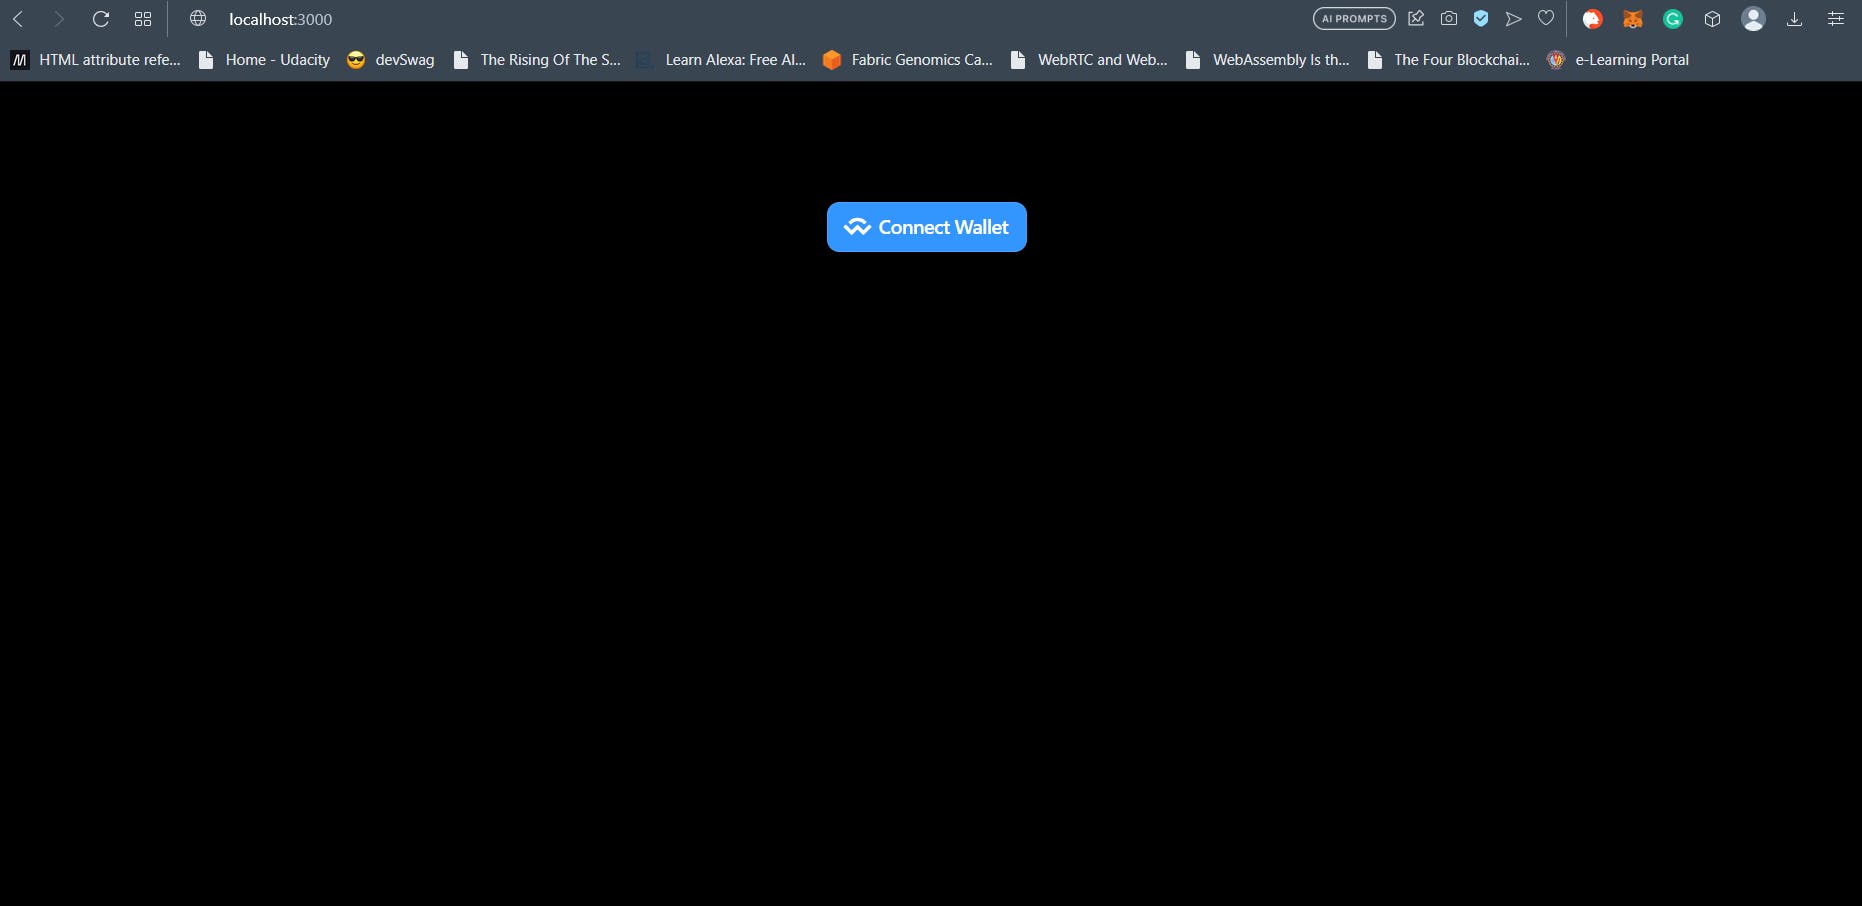
This means that we have completed all the coding bits required for this part of the article. Keep in mind that you can change this. You have the option to instead use the useWeb3Modal hook from @web3modal/react to have the Web3Modal /> handlers using your own styled button.
Connecting to Wallets using WalletConnectV2
If you click on the blue button on the screen, the Web3 Modal of WalletConnect will open and you will be greeted with a similar view:
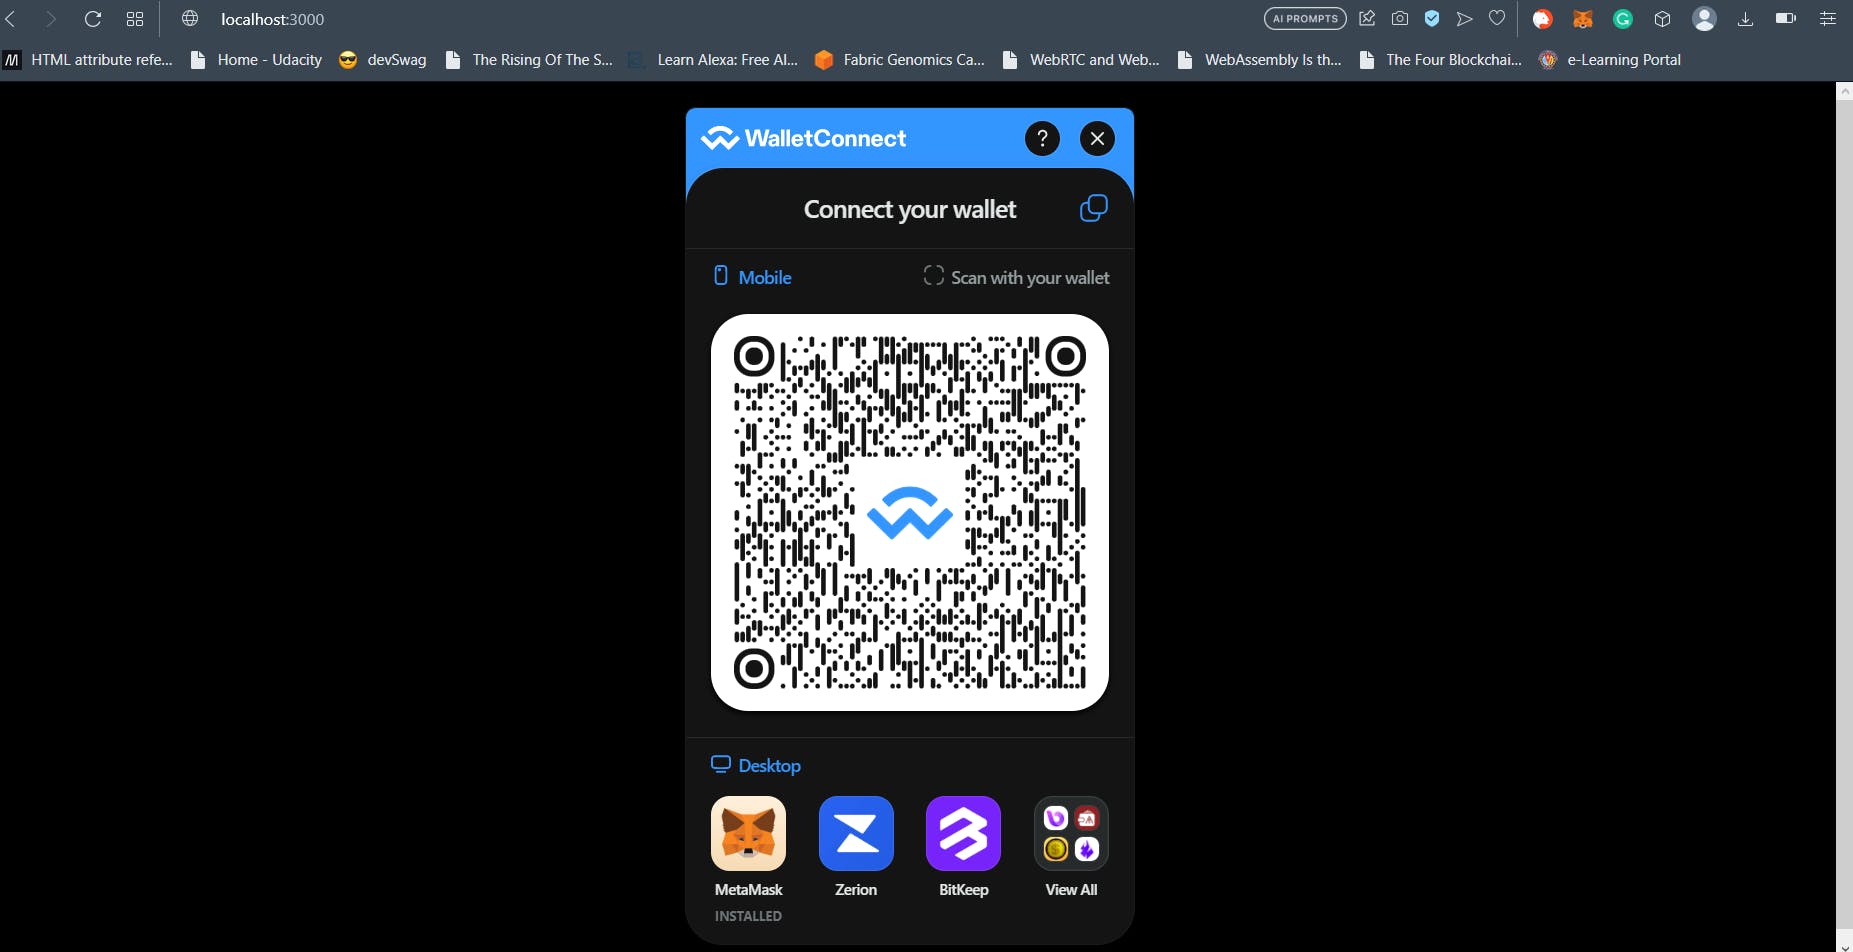
You can choose to connect using any wallet you want. In my case, I clicked on Metamask and that opened the Metamask extension on my browser. Once you have connected using Metamask or your wallet of choice, the button will change to the appearance shown below:
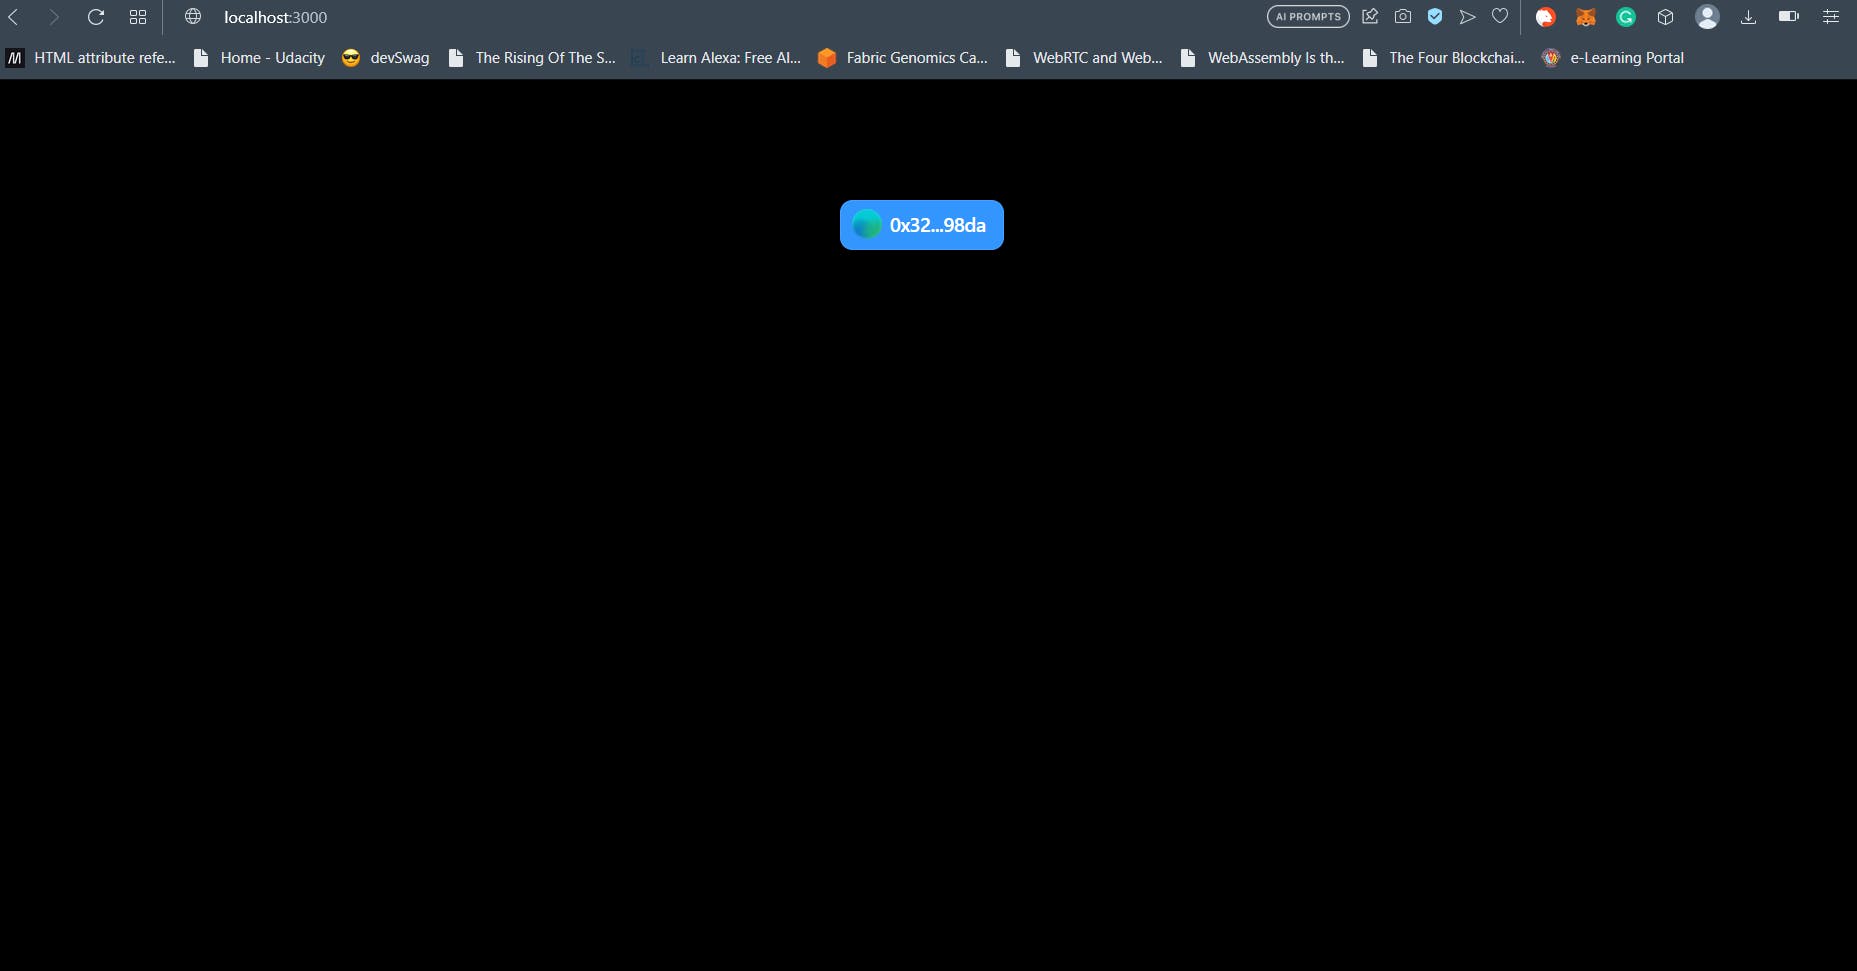
This means you are connected. You can use the useAccount() wagmi hook to check if you want to verify.
Conclusion
This brings us to the end of this article. In this article we discussed how to use Wagmi, WalletConnectV2, Viem with NextJS 13. We briefly touched on NextJS 13 and why it is considered by many to be a framework of choice. We created the first part of our Web3 mini-project.
Hope this article was helpful for you. In the next part, we will use Wagmi and Viem to interact with a Smart Contract deployed on Polygon Mumbai Testnet. Until then, keep building awesome stuff on Web3 and WAGMI!
